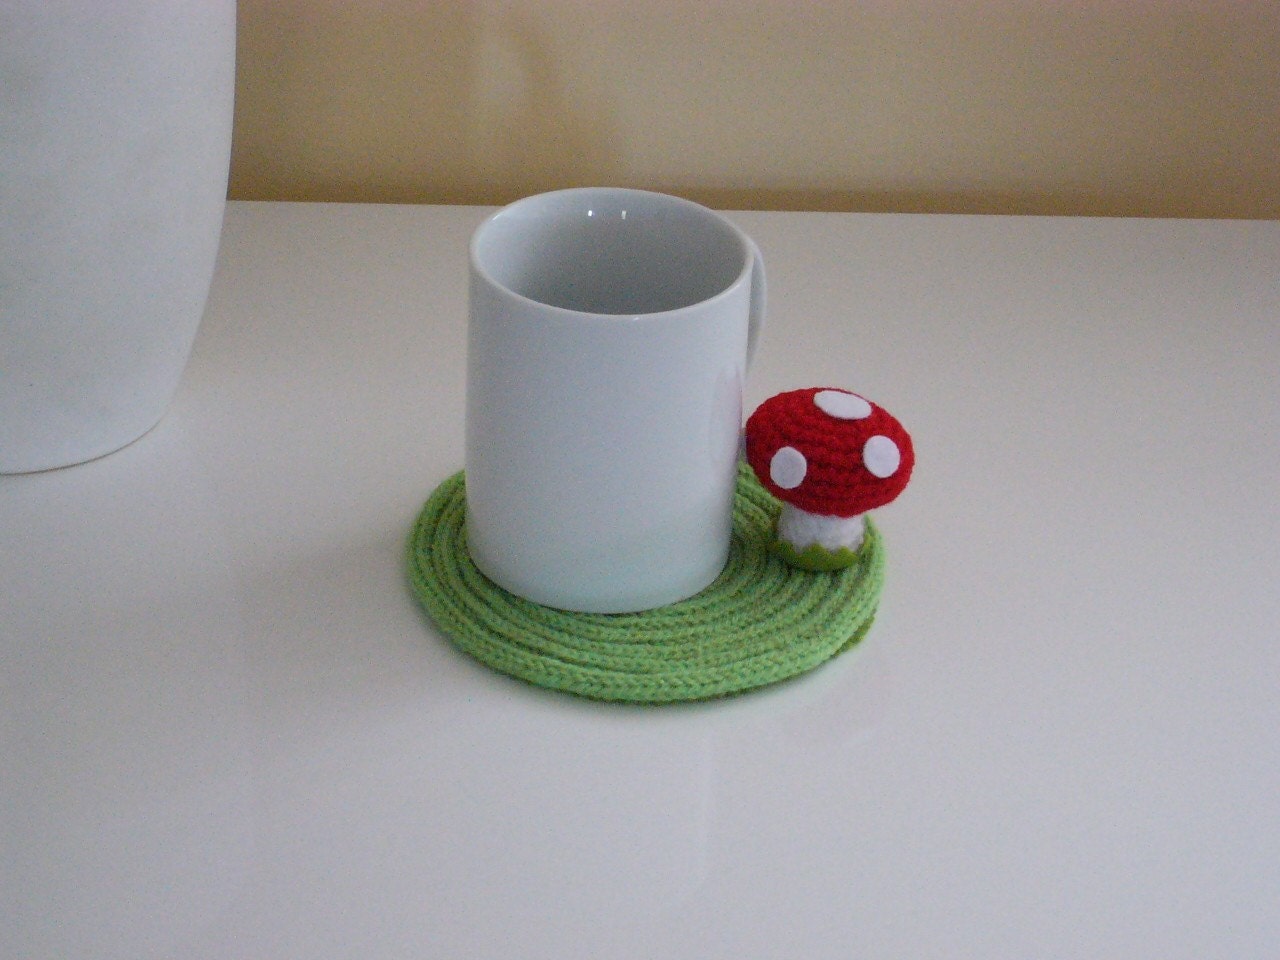
Yapım ile ilgili ipuçları içerde...
Çimen için sık ğneden bir daire yapmış, her sırada da BLO (back loop only) - sadece arkada kalan ilmekleri örmüş.
Mantar içinse 2 farklı tarif buldum, ördükten sonra boyutuna bakmak lazım
Tarif 1:
Mushroom
Start with Red Yarn
RND1: 6sc magic circle [6]
RND2: 2sc in next sc. Repeat [12]
RND3: sc in next sc, 2sc in next sc. Repeat [18]
RND4: sc in next 2 sc, 2sc in next sc. Repeat [24]
RND5: 24 sc around [24]
RND6: 24 sc around [24]
RND7: 24 sc around [24]
RND8: 24 sc around [24]
RND9: sc2tog. Repeat [12]
**Slip stitch in back stitch only to add in white.**
RND10: 12 sc around in back stitch only for this round [12]
RND11: sc in 2 sc, 2sc in next sc. Repeat [16]
RND12: 16 sc around [16]
RND13: sc2tog. Repeat [8] **stuff mushroom**
RND14: sc2tog. Repeat [4]
Slip stitch and finish off.
Mushroom: Spots [make 3-4 in white]
RND1: 4sc magic circle [4]
RND2: 2sc in next sc. Repeat [8]
RND3: sc in next sc, 2sc in next sc. Repeat [12]
Slip stitch and finish off. Leave a long yarn for sewing.
Sew spots to top of mushroom.
RND2: 2sc in next sc. Repeat [8]
RND3: sc in next sc, 2sc in next sc. Repeat [12]
Slip stitch and finish off. Leave a long yarn for sewing.
Sew spots to top of mushroom.
Whip stitch (just stitch “over-and-under” a couple of times with needle and black yarn) eyes onto white part of mushroom.
Now send your mushroom off on an adventurous journey! These mushrooms would love to hang out with you this Christmas, so make sure to make a bunch of them to pop on your tree, hang up as a garland, or put in a bowl with pinecones and other lovely Christmassy-smelling stuff. If you would like to make a much bigger mario mushroom, WolfDreamer has learnt the secrets of a big one.

Note: I developed this pattern myself, but it is so basic it would have been made many times before! I would still love a link and to see your creations in the comments if you found this helpful  More information about pattern use here:http://amysodyssey.wordpress.com/2010/07/26/my-crochet-patterns/
Why not spending your time crocheting cute little mushrooms:

You need

- Yarn in 2 colours of your choice
- Crochet Hook
- Scissors
- Fibre Fill (or any kind of material you want to use to stuff your mushroom)
- Sewing Needle
1. Chain 2,

and then 6 single crochet (SC) into the first stitch

2. 2 SC in each SC around… (that will be 12 stitches)

3. SC 1, then 2 SC into the next SC – repeat 6 times (18 stitches)

4. SC 2, 2 SC into the next SC – repeat 6 times (will be 24 stitches)

5. SC 3, 2 SC in next SC – repeat 6 times (30 stitches)

6. SC 30 (do this for about 5 rounds!!!!!)


Now your crocheted piece will start to “roll”, but that’sexactly what we want xD
7. SC 3, decrease (DEC) 1 – repeat 6 times (24 stitches)

In case you don’t know, how to “DECREASE”, here’s the instruction:

insert hook into the stitch, yarn over,

pull a loop

insert into the next stitch, yarn over, pull a loop,

yarn over and

pull through all three loops on the hook!
8. SC 24 (for about 3 rounds)

9. SC 2, dec 1 – repeat 6 times (18 stitches)

10. Now you need to think of dots, if you want to have them on your mushroom xD So take the hook and start to crochet the dots:
Chain 2, then 6 SC into the first stitch. Then, 2 SC in each stitch around. This makes 12 stitches then. After you’ve done this, just weave in the end (I usually simply tie a knot ^^) and leave a long tail for sewing!

Crochet as many dots as you wish to be on your mushroom.
11. Sew dots to mushroom.

12. Stuff your mushroom.

You decide whether you want to stuff it tight or loose, I prefer tight. 
13. SC 1, DEC 1 – repeat 10 times (17 stitches)

14. Change yarn (because now you need another colour, like white….)

15. SC 3 ounds (51 stitches)

16. SC 1, 2 SC in next SC

17. SC 1, DEC 1 – repeat 8 times

18. Stuff it.

19. SC 1, Skip 1 – repeat until end.

Just tie a knot at the end.
20. Your mushroom is finished! haha, wasn’t that easy?!

You can simply leave it like this or add a cute crocheted band like I did.
Have fun crocheting and if you want, leave a comment or (even better!) a link to a picture of your cration <3
Loves,
Katja

Hiç yorum yok:
Yorum Gönder